
Identifying the correct cartridge is the first step. Inspect the faucet for model marks, remove the handle and bonnet, and observe stem size, spline count, and seals. Gather replacement cartridges, O-rings, gaskets, lubricant, and a compatible valve seat. Shut off water, relieve pressure, and disassemble trim to inspect interfaces. Replace with proper seating, reassemble, restore water, and test hot and cold flow. The specifics determine future leaks and longevity, and a careful approach keeps options open for what comes next.
Identify Your Faucet Cartridge Type
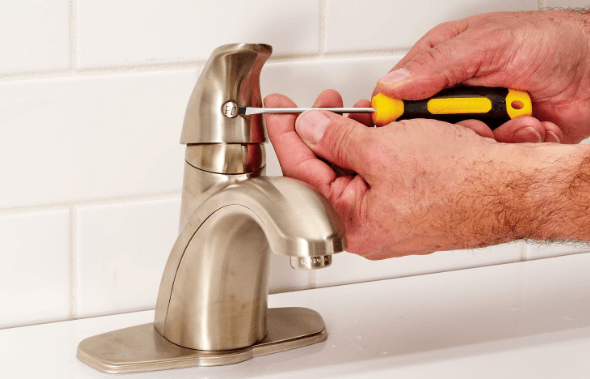
To identify the faucet cartridge type, begin by inspecting the faucet model and markings on the handle or valve body, then remove the handle and bonnet to expose the cartridge.
The process focuses on identifying cartridge features that determine faucet compatibility, including stem size, spline count, and seal arrangement.
Accurate identification ensures correct replacements and reliable operation.
Gather Tools and Fresh Parts
Gather the appropriate tools and supply fresh parts before disassembly. A precise kit includes neutral lubricant, replacement cartridges, O-rings, gaskets, and a compatible valve seat. Verify gasket compatibility with the faucet model and confirm cartridge sizing matches manufacturer specifications. Organize components by function; announce any tool substitutions only if necessary to maintain seal integrity and leak-free reassembly.
See also: What Is Fear and Greed Index?
Safe Off, Disassemble, and Replace Without Leaks
Begin by stopping water flow and pressurizing relief to ensure a safe work environment: shut off the supply valves upstream and downstream of the faucet, then open the faucet to release residual pressure.
The procedure disassembles without leaks by methodically removing trim, securing components, and inspecting cartridge interfaces.
Consider faucet cartridge types and leak prevention strategies for durable, controlled replacements.
Test, Prime for Longevity, and Troubleshoot Common Issues
After securing the water supply and disassembling the faucet cartridge, the next step concentrates on verifying operation, priming for longevity, and diagnosing typical issues. The discussion is framed as a procedural check: discussion idea one covers functional testing and flow consistency; discussion idea two addresses preventive priming steps and anomaly triage. Precision, efficiency, and clear documentation guide the troubleshooting workflow.
Conclusion
The procedure concludes with a precise, methodical restoration of faucet function. By confirming cartridge type, procuring exact parts, and carefully disassembling, sealing, and reseating components, the system returns to optimal flow and reduced wear. As the adage goes, “measure twice, cut once,” underscoring the value of meticulous verification at each step. Post-replacement tests should verify hot and cold performance, leak absence, and sustained performance, with notes filed for future maintenance and longevity.